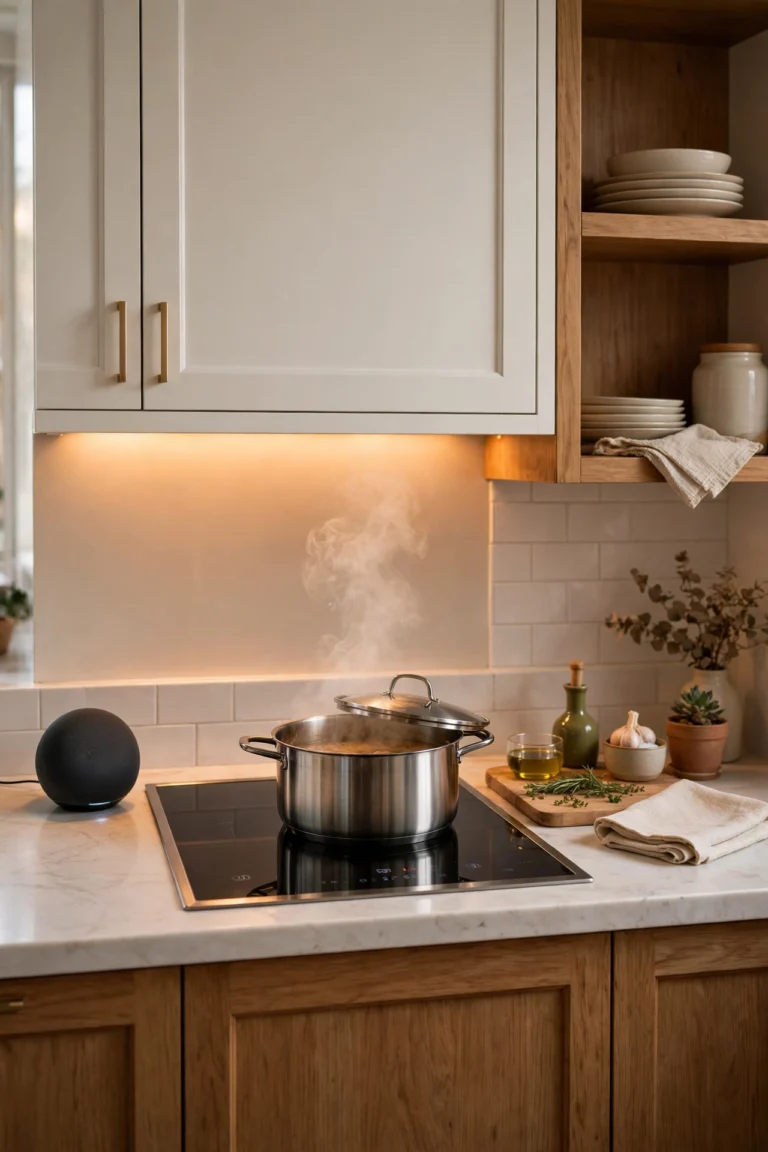
Kitchen Cabinet Organization: 14 Genius Ideas That Double Your Storage
Most kitchens have plenty of storage — it’s just hidden behind clutter, awkward corners, and cabinets that are deeper than your arm’s reach. Before you wish for a bigger kitchen, try working the space you already have. These 14 ideas turn wasted inches into real, usable storage.
1. Measure Before You Buy Anything
The number one cabinet-organizing mistake is buying products first. Grab a tape measure and note the width, depth, and height of each cabinet — including the distance between shelves. Most organizers come in standard sizes, and a shelf that almost fits is a shelf you can’t return after peeling the adhesive. (Prices vary — check current listings.)
2. Declutter Before You Organize
You can’t organize what you don’t need. Pull everything out of one cabinet at a time, toss broken lids and chipped mugs, and relocate single-use gadgets you haven’t touched in a year. Be honest: if it hasn’t been used in a year, it probably doesn’t deserve prime cabinet real estate.
3. Add Shelf Risers to Double Surface Area
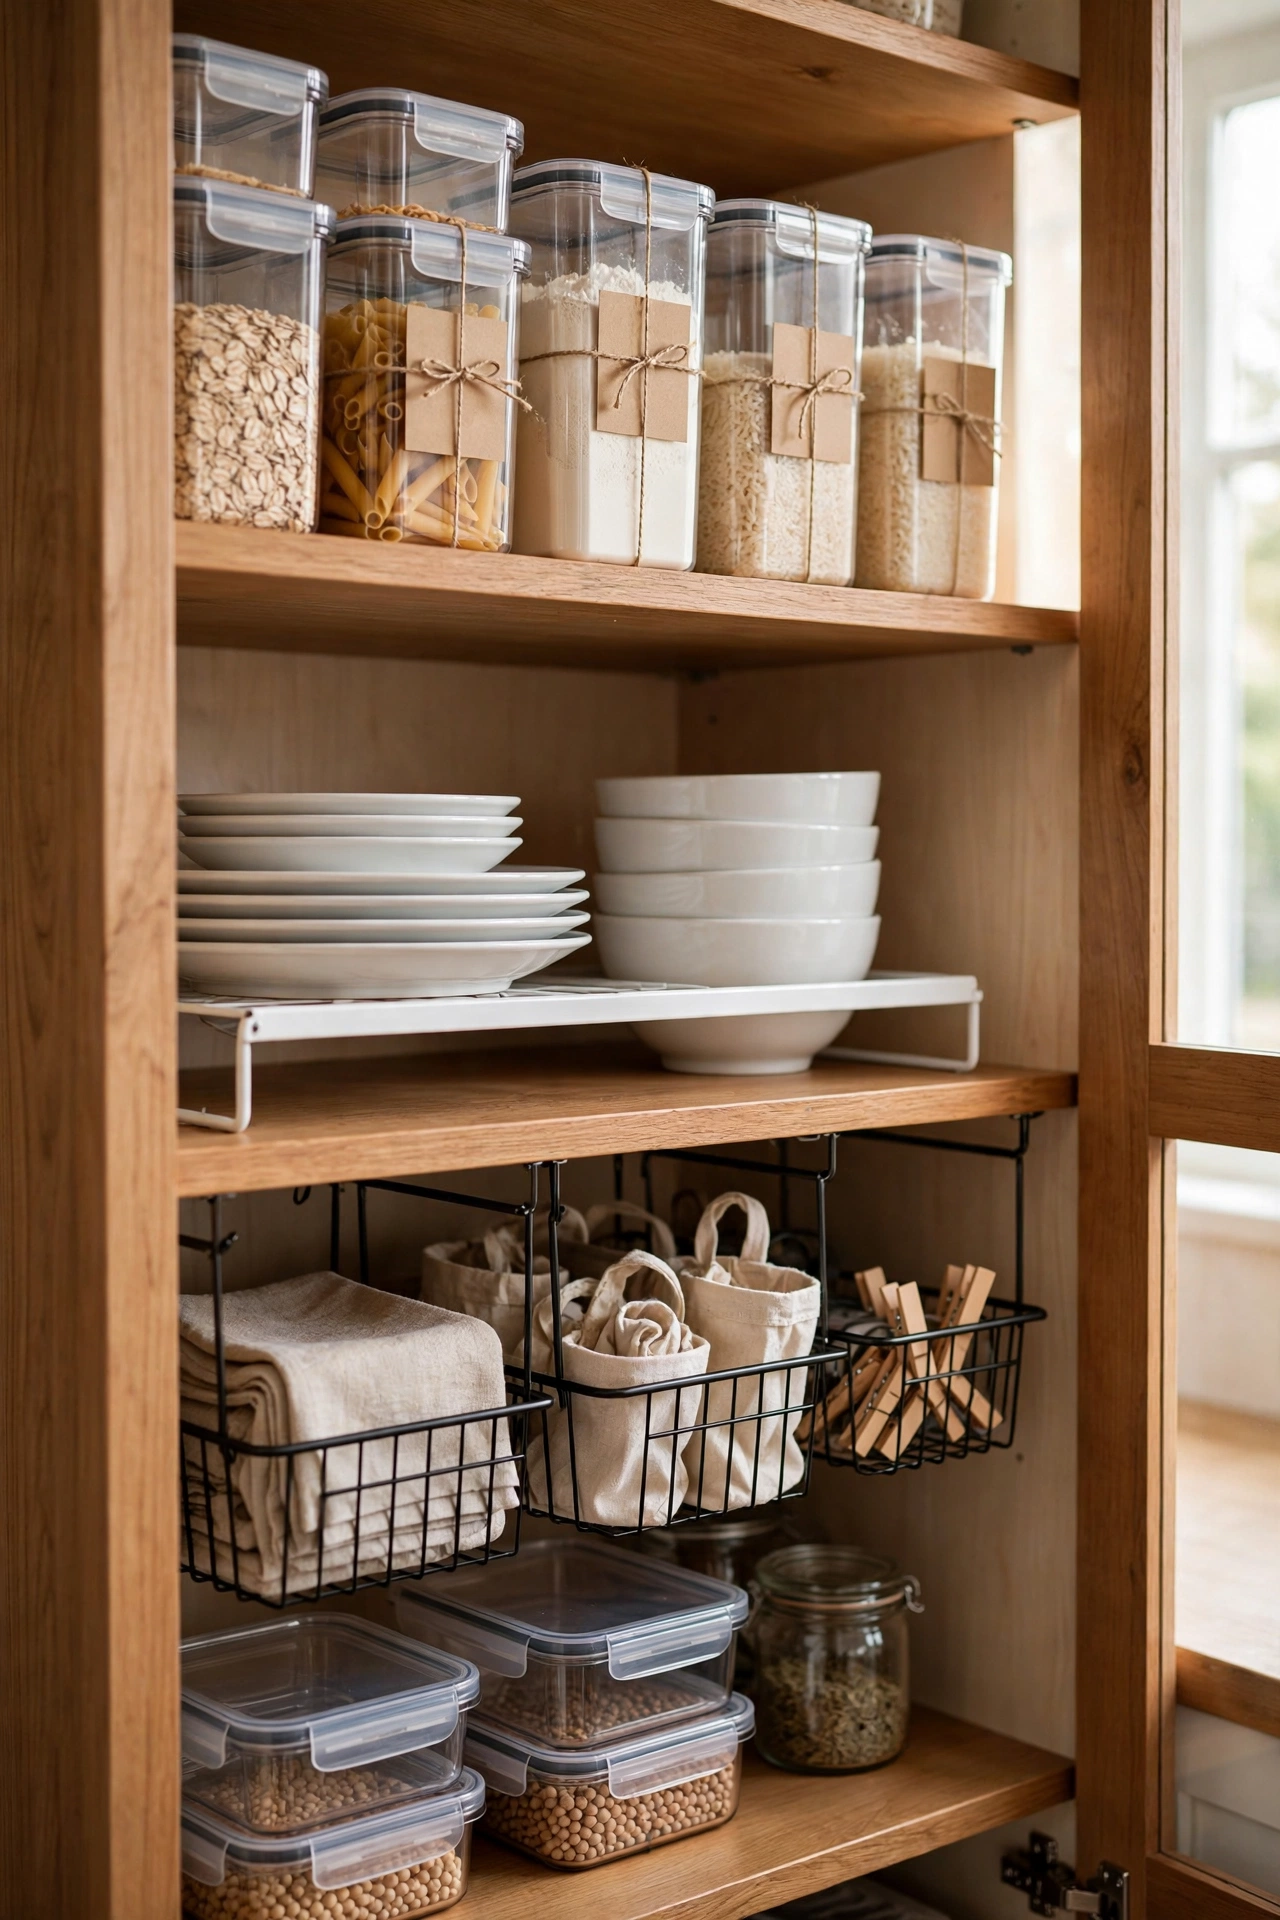
A freestanding shelf riser instantly creates two layers where there was one — stack plates below, bowls or glasses above. They’re inexpensive (many under $20, prices vary by material and size) and they lift everything you own into reach.
4. Install Pull-Out Shelves or Sliding Baskets
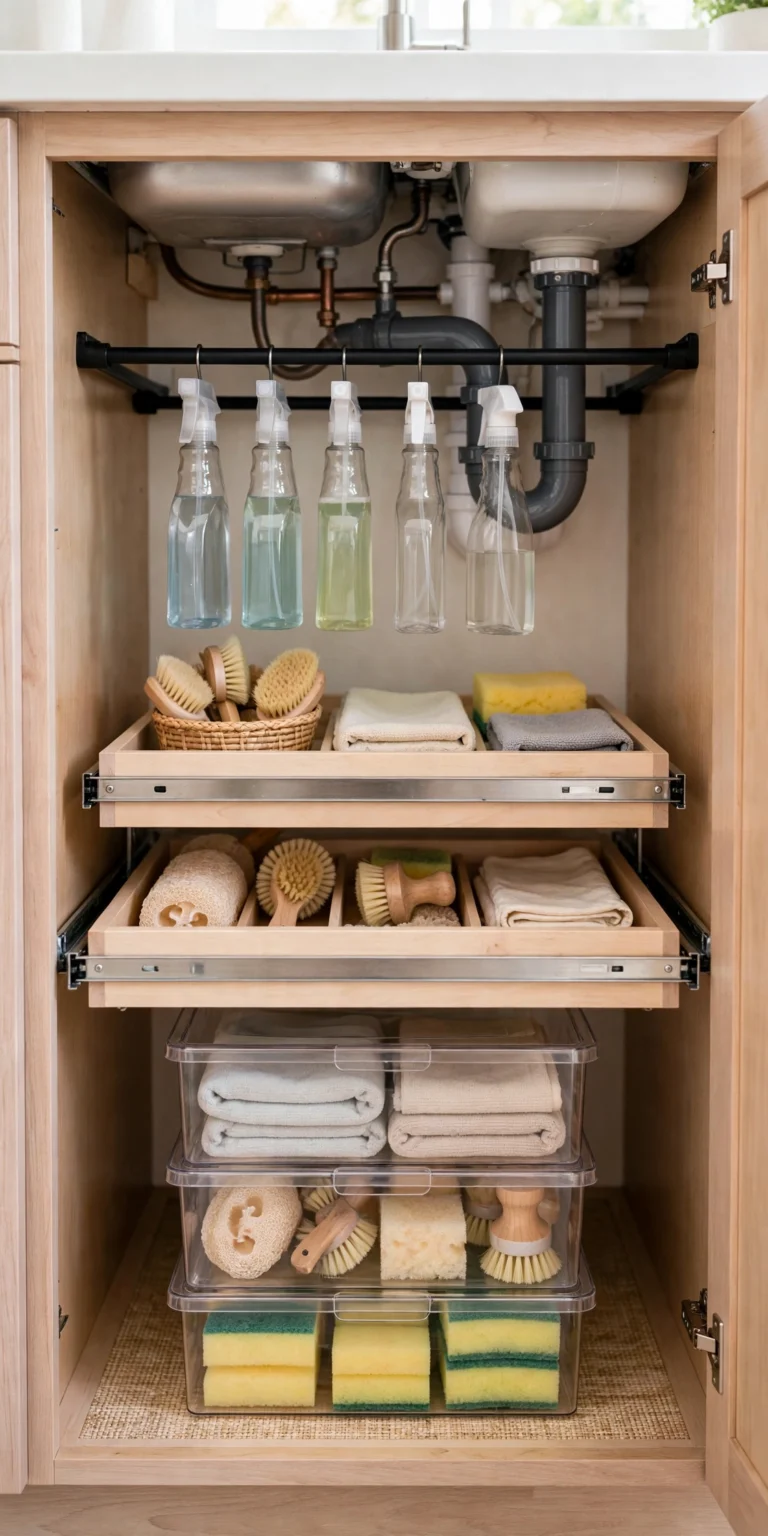
The bottom half of deep base cabinets is where pots go to disappear. Slide-out shelves and pull-out baskets bring the back of the cabinet to you. Two-tier sliding baskets are especially good for cans, packets, and baking supplies.
5. Use the Inside of Cabinet Doors
Cabinet doors are free real estate. Stick-on or over-the-door racks hold lids, cutting boards, foil and wrap, spices, or cleaning spray bottles. Adhesive and no-drill options exist for renters too.
6. Tame Corners with a Lazy Susan
Corner cabinets are the Bermuda Triangle of kitchens. A lazy susan — the classic two-tier turntable — makes everything in a corner cabinet reachable with a spin. They’re especially good for oils, vinegars, spices, and cans.
7. Switch to Stackable Clear Containers
Bulky boxes of cereal and bags of flour waste space and go stale. Decant dry goods into clear, stackable containers so you can see what you have at a glance. Square containers waste less space than round ones.
8. Hang Under-Shelf Baskets
Clip-on wire baskets hook under existing shelves and turn dead vertical space into storage for mugs, foil packets, or small bowls. They’re renter-friendly since they don’t require drilling.
9. Store Things Where You Use Them
Organize by zone: pots, pans, and utensils near the stove; cutting boards and knives near your prep counter; glasses near the dishwasher. This cuts down on crossing the kitchen and means each cabinet holds a logical set of items.
10. Use Magnetic Strips for Small Metal Items
A magnetic strip mounted on a cabinet door or under a shelf holds spice tins, small measuring tools, or even knives safely away from drawers. Keep magnets away from anything sensitive like pacemakers and check the manufacturer’s guidance.
11. Corral Lids with a Lid Organizer
Pots stack fine — it’s the lids that cause chaos. A vertical lid rack (inside a door or cabinet) keeps every lid upright and grabbable. Tension-rod setups inside cabinets can do the same job on a budget.
12. Nest Cookware with Pan Protectors
Stack pots and pans with soft felt or foam pan protectors between them to prevent scratches. Store the heaviest items on the lowest shelf to keep the cabinet stable and easy to reach.
13. Go Vertical for Trays and Cutting Boards
Sheet pans, cutting boards, and cooling racks don’t stack well. File them upright using vertical dividers — like books on a shelf. A cheap tension rod across a cabinet works in a pinch.
14. Label Every Container and Shelf
Labels turn a one-person system into a household system. A label maker or simple masking tape labels mean everyone puts things back in the right spot — which is what keeps cabinets organized long after the first tidy-up.
The Bottom Line
Double your kitchen storage without changing a single cabinet door: measure first, declutter ruthlessly, then add risers, pull-outs, and door racks where they’ll count. Pick two or three ideas this weekend and your cabinets will feel like a brand-new kitchen.